Filed under:
Professional Photos — Editorial at 5:00 pm on Monday, February 11, 2008
Do you know what an ISO setting is and how to use it? Pro Shots photographer Don Paulson joins us this week to answer your burning questions on this subject!
___________________________________________________________________________
Which ISO setting should I use when I take a picture with my digital camera? Like most questions in life, the answer is, “It depends.” And it’s no surprise that whatever ISO setting you choose will have its pluses and minuses. But before we get into the specific advantages and disadvantages or the “depends on what” question, we must first understand what ISO is.
What the Heck Is ISO Anyway?
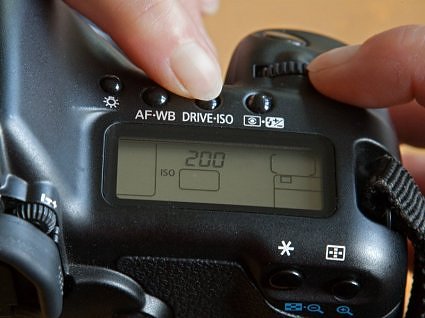
When using film, the ISO (formally ASA) is the measure of how sensitive the film is to light. Sometimes, ISO is referred to as “film speed” and is given as a number (100, 200, 400, etc.). The higher the ISO number, the more sensitive the film is to light. A 400 ISO film is a “faster-speed” film than a 100 ISO film because it needs less light (thus faster shutter speeds) to properly expose the film.
Digital cameras adapt the same ISO numbers to show how sensitive the image sensor is to light. Just as in film photography, the higher the ISO number, the more sensitive your camera is to light.
In both film and digital cameras, higher ISO settings are normally used in dimly lit situations in order to get faster shutter speeds. This way you can hand-hold your camera with less chance of getting a blurry photo. So why not use a faster film or a high ISO setting on your digital camera all the time? Well, both film and digital cameras have a “see-saw” relationship between ISO and image quality. A low ISO gives the highest image quality. High-speed films or high ISO settings on digital cameras tend to produce grainy or noisy images. Digital noise is a grainy or speckled look that becomes apparent when a high ISO setting is used. Noise is most noticeable in the darker areas of the photograph, especially if a dark photo is adjusted on your computer to make it look lighter.
So, Which One Do I Use and When?
Just about every digital camera will select the best ISO setting depending upon the lighting conditions when set to Auto mode, but most cameras also give you the opportunity to select your own ISO setting.
Here are my thoughts on which ISO setting to choose. In general, I choose the lowest ISO setting possible that will give me a photo with the least amount of noise and blur. I use higher ISO settings when there is a chance that the photo will be ruined by a camera shake during a long exposure time. There are software programs that can help reduce the apparent noise in a digital image, but nothing I know of can fix a blurred image. Keep in mind that image quality is most important to me, so I may use lower ISO settings than someone who just wants to take a reasonably good snapshot to share with family and friends.
When taking photos in bright sunlight, it’s usually best to set the ISO to its lowest setting (usually ISO 100), although an ISO setting of 200 will give you the advantage of slightly faster shutter speeds without noticeably adding noise.
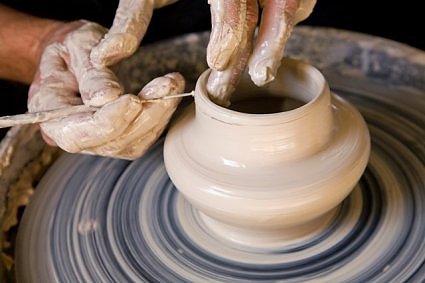
A flash is normally preferred for indoor photos, but for indoor shots without a flash, a high ISO setting will give you sharper, hand-held photos. A good starting point is ISO 400, but you may need to set an even higher ISO in dimly lit rooms. Remember: The lower the light, the higher the ISO setting will need to be in order to get a sharp hand-held photo.
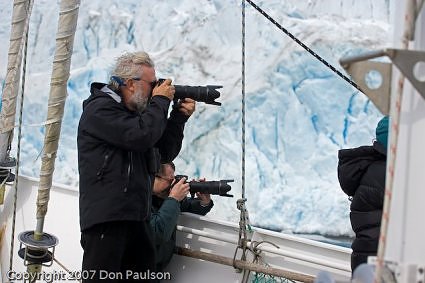
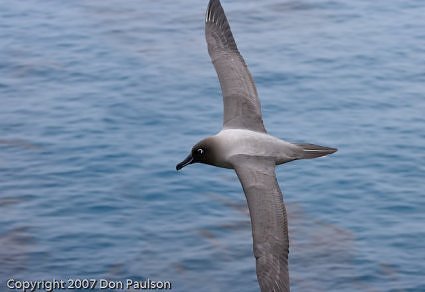
Your choice of lens (or zoom setting) is also a factor when setting an appropriate ISO. Telephoto shots are hard to hold steady. An ISO setting of 400 or higher will allow you to use a faster shutter speed, which is exactly what you need to get a sharp telephoto shot. The more you magnify the subject by zooming, the higher the ISO setting should be. This does not apply if your camera is held steady on a tripod.
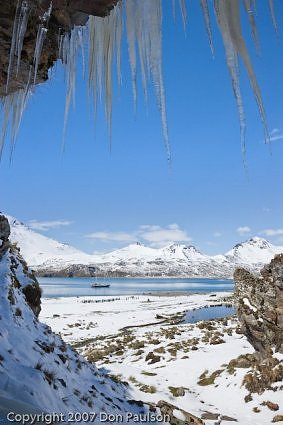
On the other hand, wide-angle shots are easy to hold steady, even at relatively long exposure times. In this case, I normally set my ISO to a low (100 to 200) setting to give me the highest-quality image with the lowest level of noise.

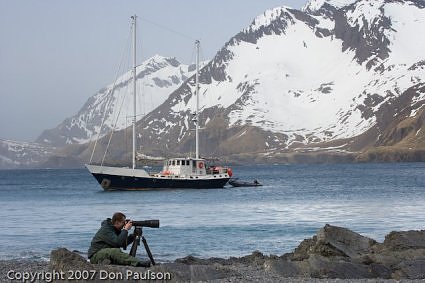
Getting a sharply focused photo from a boat or a moving car can be a challenge, especially when the light is low or when using a telephoto lens. In this case, your camera, when set to full Auto mode, won’t necessarily make the right choice of ISO. I recommend setting the ISO to at least 400 or higher when you’re a passenger in a moving car or on a rocking boat.

Likewise, when photographing a speeding car or fast-moving subject, you’ll get the sharpest results if you choose a high ISO of 400 or more.
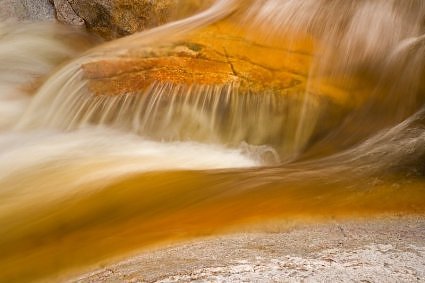
Sometimes, however, a long shutter speed is preferred in order to illustrate motion or to give running water that silky look. In this case, a low ISO setting generally makes sense.
Using a tripod is a great way to get both sharp photos and good image quality with low noise. However, using the lowest ISO setting may not always be the best choice. A long telephoto shot in low light, even when mounted on a tripod, will normally benefit from a higher ISO setting.
If you have more questions about ISO settings for Don or want to share your own experiences, please leave a comment in the blog.
Want more great tips from Don? Then check out his special workshops filled with helpful information about photography. To learn more about this opportunity, please visit Don’s website..
Url to this pages:
http://nade.dk/web/nade/site.nsf/FramesetHP?readform&wmain=files/isosettings